John's Cedar Kayak
Page Nine: Cockpit Combing and Hatches, Part 1
(Click photos for a larger image)
Cockpit Combing
 The
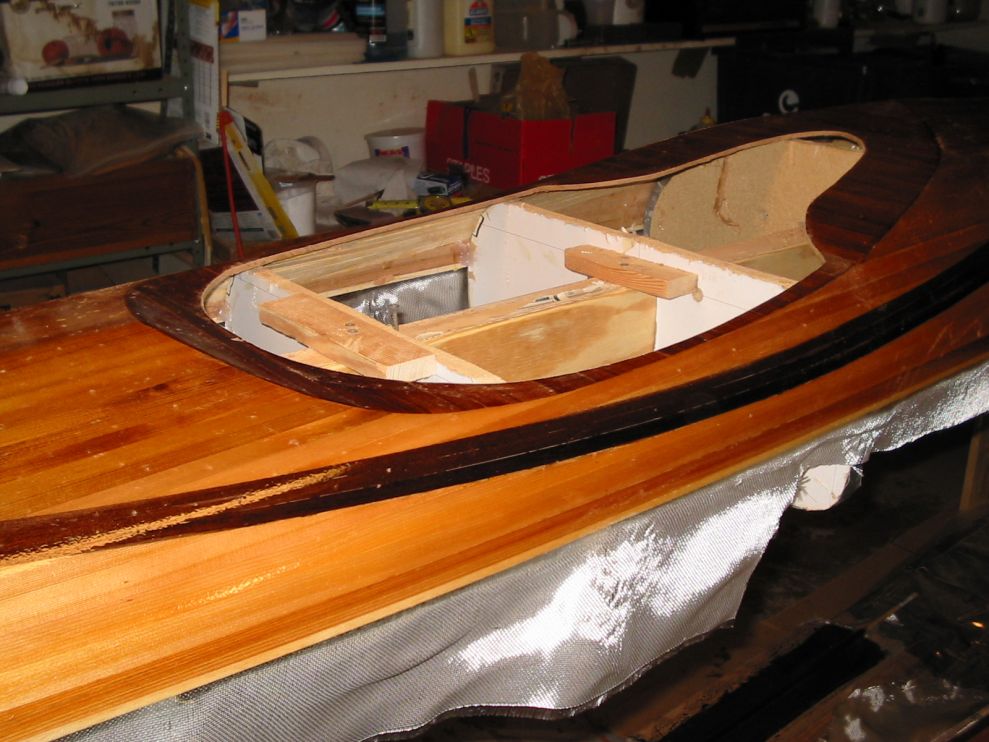
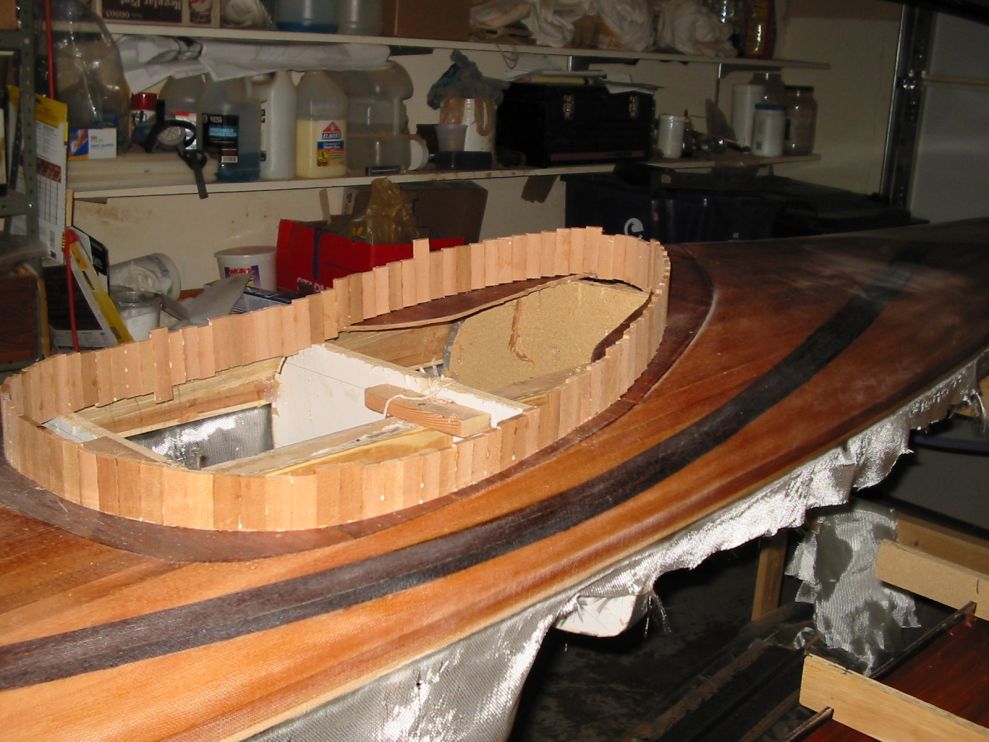
cockpit combing on this boat is being formed from vertical pieces of cedar and a
lip of mahogany. Scraps of cedar strips were held in place with hot melt
glue around the cockpit hole.
The
cockpit combing on this boat is being formed from vertical pieces of cedar and a
lip of mahogany. Scraps of cedar strips were held in place with hot melt
glue around the cockpit hole.
To strengthen the combing, a fillet and fiberglass was applied to the outside of the vertical strips. The deck was then turned over to fiberglass the inside.
Finishing the Inside
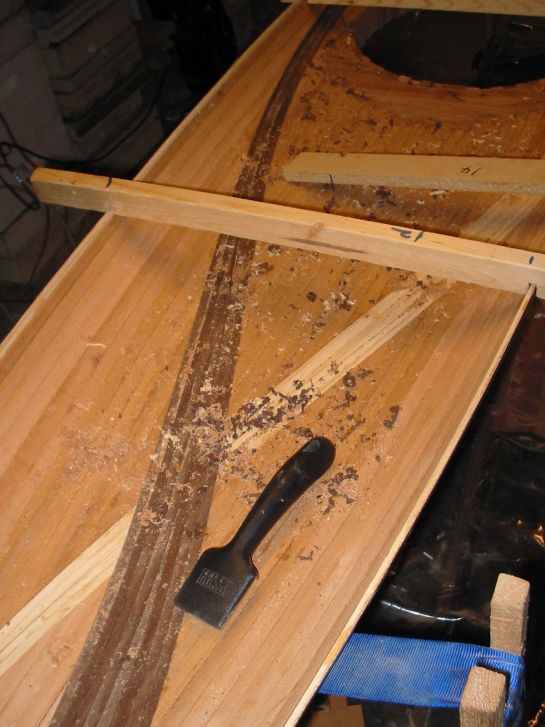
I scraped and sanded some with 80 grit paper to take any major surface
irregularities out of the surface, but didn't spend a lot of time on it.
It's the inside, after all.
After the inside deck epoxy had cured, I returned the two kayak halves to the strongback. I was pleased that they still joined very well. The shape can distort a little when they are off the forms before the epoxy is fully cured inside and out, but I've had no problems thus far.
Combing Lip
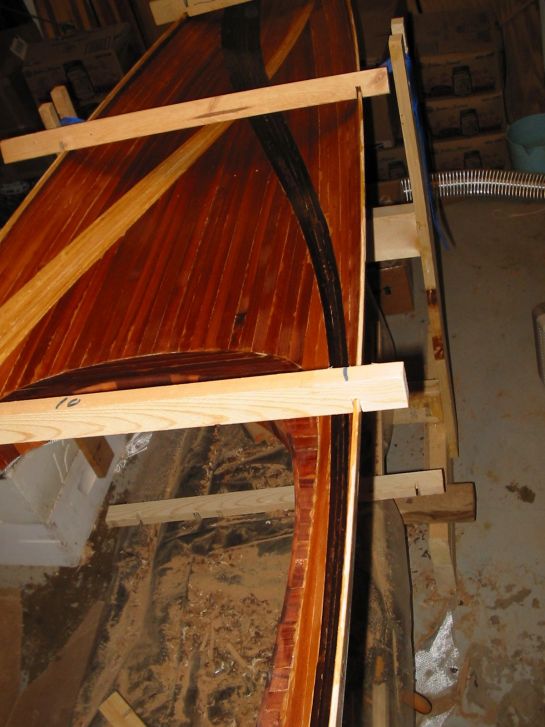
 Walnut
strips form the combing lip, so the whole cockpit area will have a consistent
darker theme. No candy stripes here.
Walnut
strips form the combing lip, so the whole cockpit area will have a consistent
darker theme. No candy stripes here.
I was concerned that the walnut strips would not confirm to the curve because I had some earlier grain run-out problems, but I soaked the strips in hot water in my bathtub for abut an hour before applying them to the boat and no strips broke.
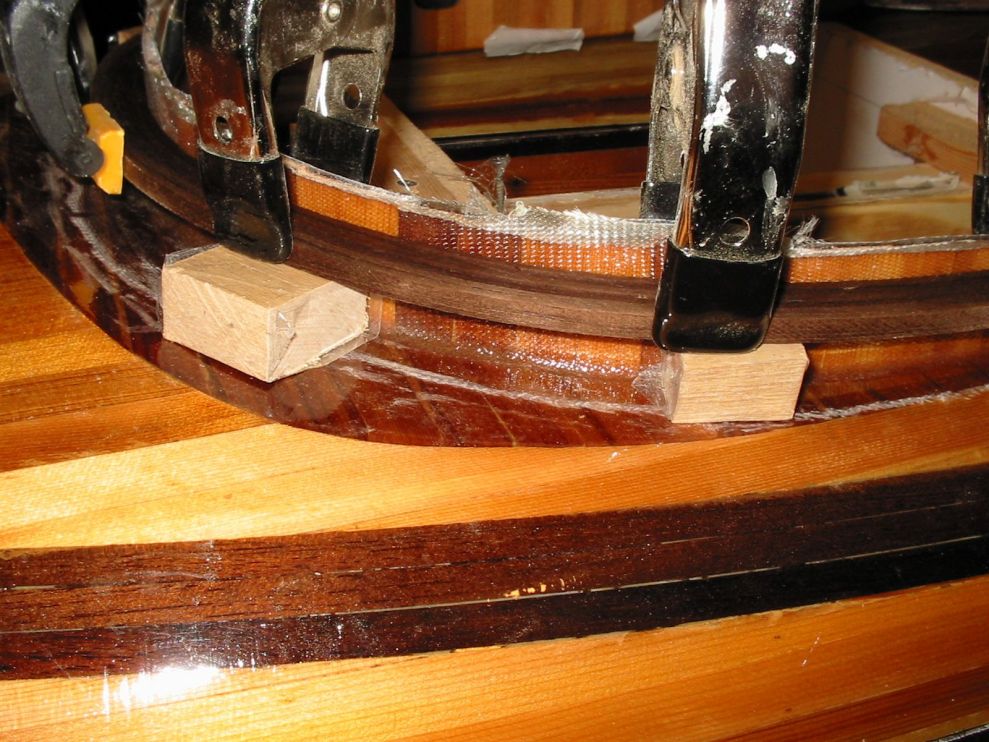
The wet walnut strips were clamped in
position and allowed to dry. The next day they were epoxied into
position. It was messy dealing with 6 narrow strips all gooey with
silica-thickened epoxy.
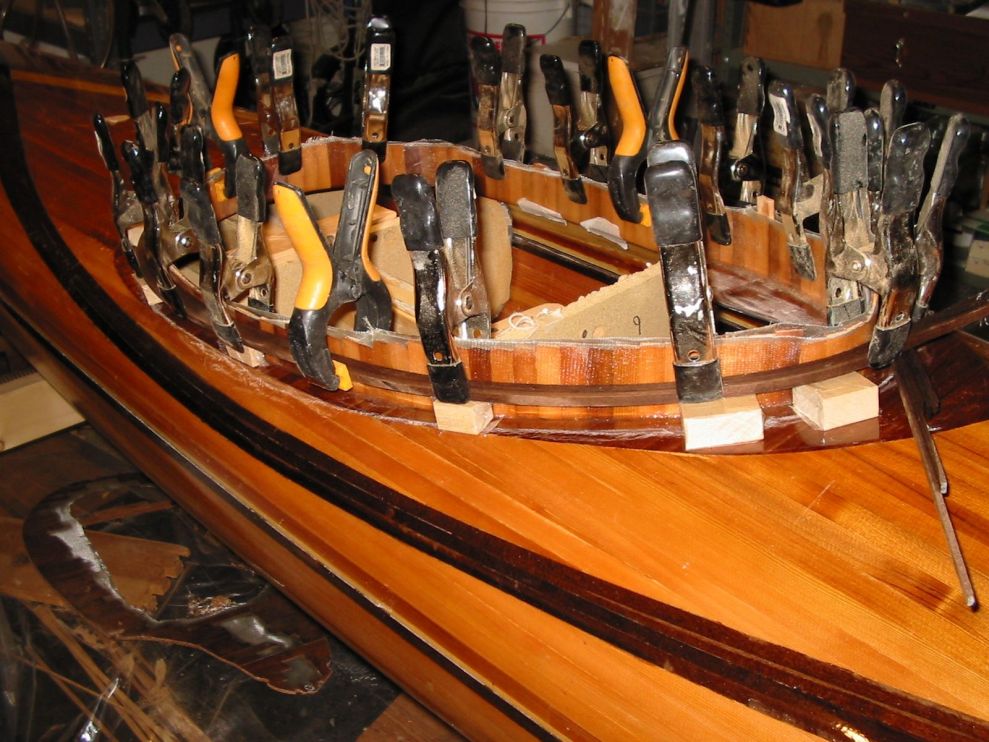 The
little tape-covered blocks in these photos are holding the lip a consistent
3/4" above the deck while gluing. You can never have too many
clamps!
The
little tape-covered blocks in these photos are holding the lip a consistent
3/4" above the deck while gluing. You can never have too many
clamps!
Fasteners
 Fasteners
are useful to hold shock cords and deck lines. I made
some little fasteners by covering a wood dowel with fiberglass saturated with
epoxy. Graphite powder colored the epoxy black.
Fasteners
are useful to hold shock cords and deck lines. I made
some little fasteners by covering a wood dowel with fiberglass saturated with
epoxy. Graphite powder colored the epoxy black.
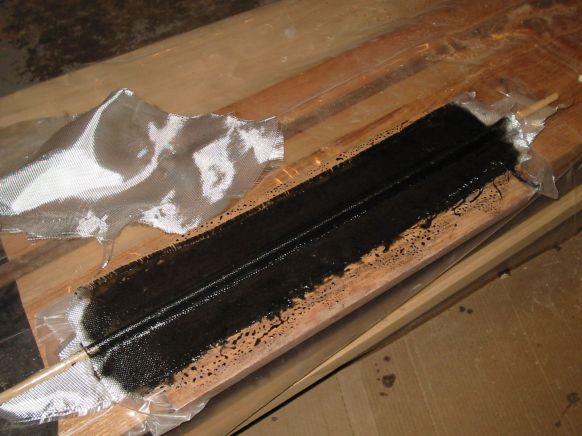
 To make the fasteners, the
dowel was covered in packing tape. Two layers of 6 ounce glass under the
dowel, a fillet of thickened, colored epoxy around the dowel, and 6 layers of 6
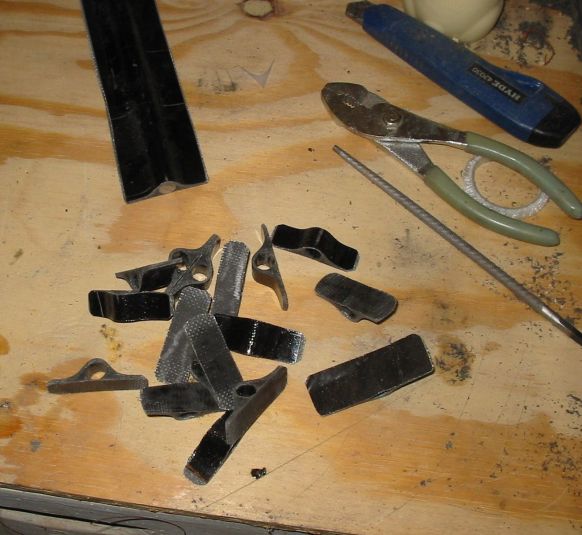
ounce glass on top. When cured, I sliced it into pieces, knocked out the
dowel, and trimmed them to shape. The fasteners will be used to hold shock
cord for the seat back and hatch covers, and also for an inside-the-cockpit pump
holder. I may even use a few in my
other boats.
To make the fasteners, the
dowel was covered in packing tape. Two layers of 6 ounce glass under the
dowel, a fillet of thickened, colored epoxy around the dowel, and 6 layers of 6
ounce glass on top. When cured, I sliced it into pieces, knocked out the
dowel, and trimmed them to shape. The fasteners will be used to hold shock
cord for the seat back and hatch covers, and also for an inside-the-cockpit pump
holder. I may even use a few in my
other boats.
Hatches
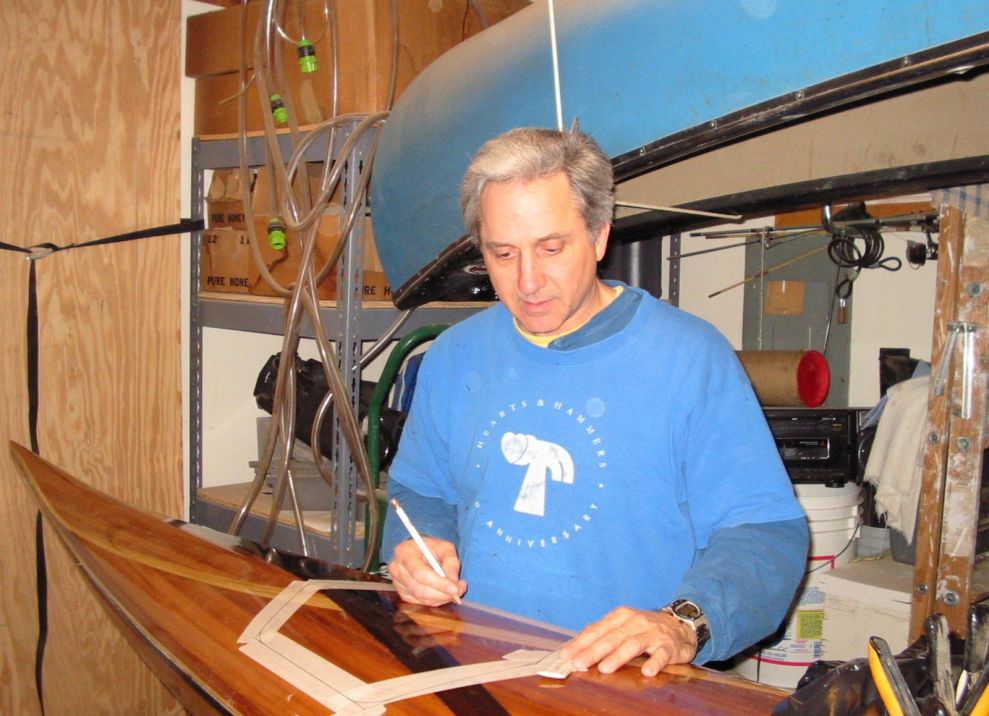 Cutting
holes in a perfectly good deck is hard to do. Nevertheless, I masked the
deck, marked the cutting lines with a felt pen, and grabbed my jig
saw.
Cutting
holes in a perfectly good deck is hard to do. Nevertheless, I masked the
deck, marked the cutting lines with a felt pen, and grabbed my jig
saw.
The first cut on each hatch was made
by tilting the jigsaw and letting it scrape through the deck. I used a
very narrow "scrolling" blade with lots of small teeth, and went
very slow. Didn't want to screw this up. I was pleased when both holes
were made without any problems.
 The
cut-outs from the holes will become the hatch covers, so I taped them back into
place and turned the deck over to make the rims that will hold the hatch covers
in place. The hatch area was covered with Contact paper, and 1/4"
thick and 1/2" wide weatherstripping foam was positioned around the hatch
edge.
The
cut-outs from the holes will become the hatch covers, so I taped them back into
place and turned the deck over to make the rims that will hold the hatch covers
in place. The hatch area was covered with Contact paper, and 1/4"
thick and 1/2" wide weatherstripping foam was positioned around the hatch
edge.
I layered about 7 layers of scrap fiberglass over the foam. The epoxy was mixed with some graphite powder to make it black, although only a little of this will show when the hatch covers are off. When cured, the edges will be cleaned up.
Foam
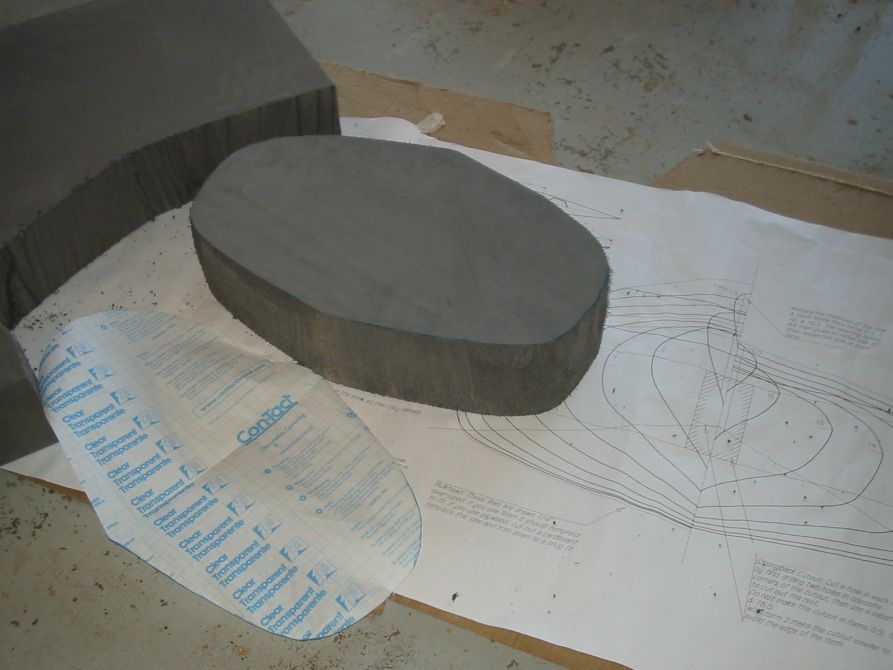 The foam for my seat and
bulkheads
arrived in the mail. I spent some time shaping the seat to the boat, and
making the two bulkheads. It is very pleasant work, because it is soft and
does not have a grain. It responds well to rasping.
The foam for my seat and
bulkheads
arrived in the mail. I spent some time shaping the seat to the boat, and
making the two bulkheads. It is very pleasant work, because it is soft and
does not have a grain. It responds well to rasping.
The foot braces also arrived, but they weigh a full pound! I am considering cutting the length down to about 7 or 8 inches to save weight.
Next Steps
1. Finish the cockpit combing
2. Finish the hatch rims
3. Join the deck and hull
Back to Page One
Back to Page Eight
Created: February 2, 2003