John's Guillemot Kayak
Page 1: Getting Started
(Click any photo for a larger image)
Page 1: Getting Started (You're here now)
Page 2: Milling Wood Strips
Page 3: Stripping the Hull
Page 4: Stripping the Deck, part 1
Page 5: Stripping the Deck, part 2
Page 6: Fairing the Boat
Page 7: Epoxying the Hull
Page 8: Epoxy, Epoxy... Finishing the hull and Beginning the Deck
Page 9: Cockpit Combing and Hatches, Part 1
Page 10: Cockpit completion and Joining the Deck
and Hull
Page 11: Finishing
Page 12: Final Touches & Paddling
Credits ![]()
Introduction
 I am building a cedar wood kayak. This is my winter project.
Plans for my boat were purchased from Nick Schade, who designed this boat called Guillemot. It's a time-proven design for a medium volume touring kayak, and is 17 feet long and 21 inches wide. It should weight approximately 40 pounds, and basically consists of strips of wood encased in epoxy strengthened with fiberglass cloth. The name Guillemot is a name for a species of bird.
A strip-built kayak allows plenty of creativity in design. When built perfectly, with an artistic eye, the boat I am building looks something like the boat above.
This is the first strip-built boat I am building, so I'm learning as I go.
The mold
The
wood strips need a mold, or forms, to create the shape of the boat. The plans for my boat included full-size
paper form templates. I glued these templates to 1/2" fiberboard,
and cut them out. A friend and I cut out all the forms on his band saw and
smoothed them on a sander in a
few hours.
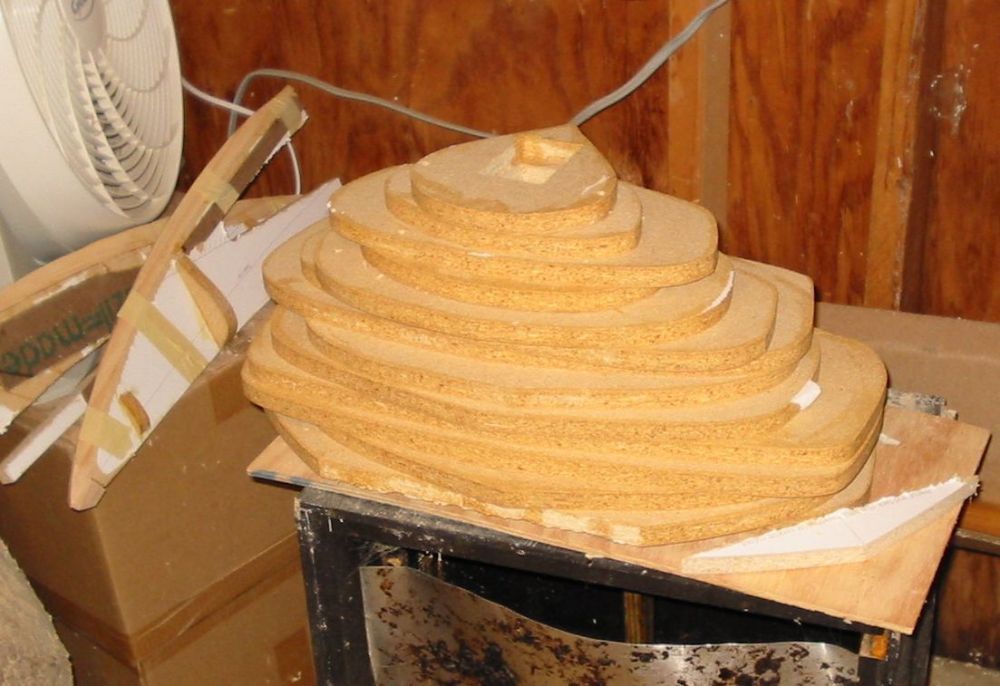 To keep the fiber board
from chipping, I painted the edges with diluted glue. If I build another boat, I will use
1/2" plywood for the forms, since it is stronger.
To keep the fiber board
from chipping, I painted the edges with diluted glue. If I build another boat, I will use
1/2" plywood for the forms, since it is stronger.
The construction process is relatively
simple: Cover the forms with wood, then cover it with epoxy and fiberglass
on both the inside and outside. Of course there's little things like the
cockpit opening, hatch covers, footrests, seat and deck rigging, but that's
basically it.
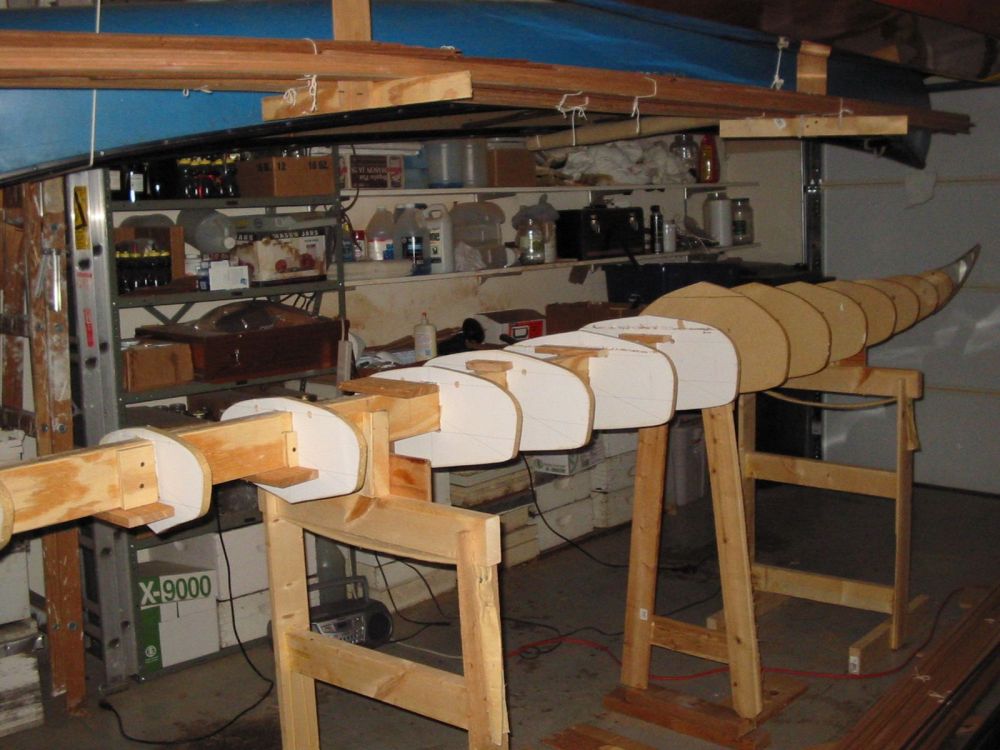 The
forms are mounted on a long, straight beam called a strongback. My
strongback is made from 1/2"
plywood to create a 2" by 4" beam 15 feet long. The forms are
positioned every 12" along its length and at the two ends to form the shape of the
boat, like a skeleton.
The
forms are mounted on a long, straight beam called a strongback. My
strongback is made from 1/2"
plywood to create a 2" by 4" beam 15 feet long. The forms are
positioned every 12" along its length and at the two ends to form the shape of the
boat, like a skeleton.
This might be a good time to mention that I'm building this boat in my garage. My HALF of the garage. My usual workshop is a converted garden shed that is too small for a 17' kayak, so I'll be parking in the driveway until this thing is completed.
I met a lot of curious neighbors when I built my first kayak, as I prefer to work with the garage door open unless the weather is a problem.
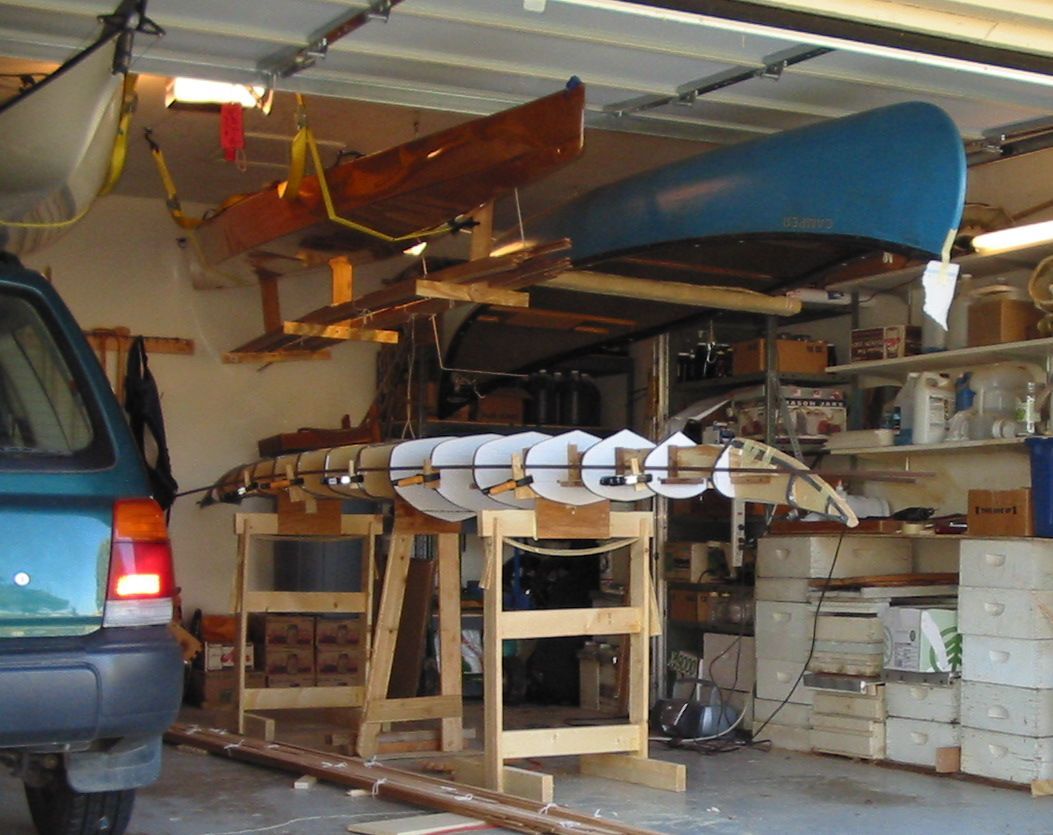 The boats that are hanging
from the ceiling are above my head level, except for the bow of the canoe, where
I've taped a white flag to avoid collisions. It's not quite my dream
workshop, but it works well enough.
The boats that are hanging
from the ceiling are above my head level, except for the bow of the canoe, where
I've taped a white flag to avoid collisions. It's not quite my dream
workshop, but it works well enough.
I've improved the lighting with 4' fluorescent lights and have a radio and CD player for company. My work table is an 8' by 2' plywood sheet placed on top of some bee hive boxes.
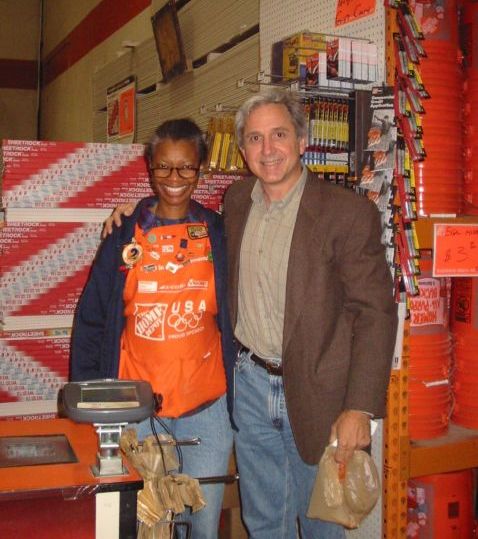 The cashier in this picture is smiling because I spend so much money at
Home Depot.
The cashier in this picture is smiling because I spend so much money at
Home Depot.
Most of my tools and materials for this boat were purchased at Home Depot. There are people who claim to have spent nearly nothing, building their boats from old pallets or a backyard tree, but they must not be including all the money they spent on tools they didn't have, clamps, sandpaper, latex gloves, brushes and rollers. The epoxy alone typically costs about $200. My budget is to keep the overall cost below $800, including new tools.
Time estimates to build a boat like this range
from about 200 hours to 500 hours, depending on how much time you spend just
staring at the half-built boat and planning the next step.
It
was hard to find western red cedar wood that didn't have a lot of knots, which interfere
with milling nice, long strips. With several trips to different
lumber stores, I eventually found some acceptable wood. I also bought a board of white pine and another of walnut, for accent strips.
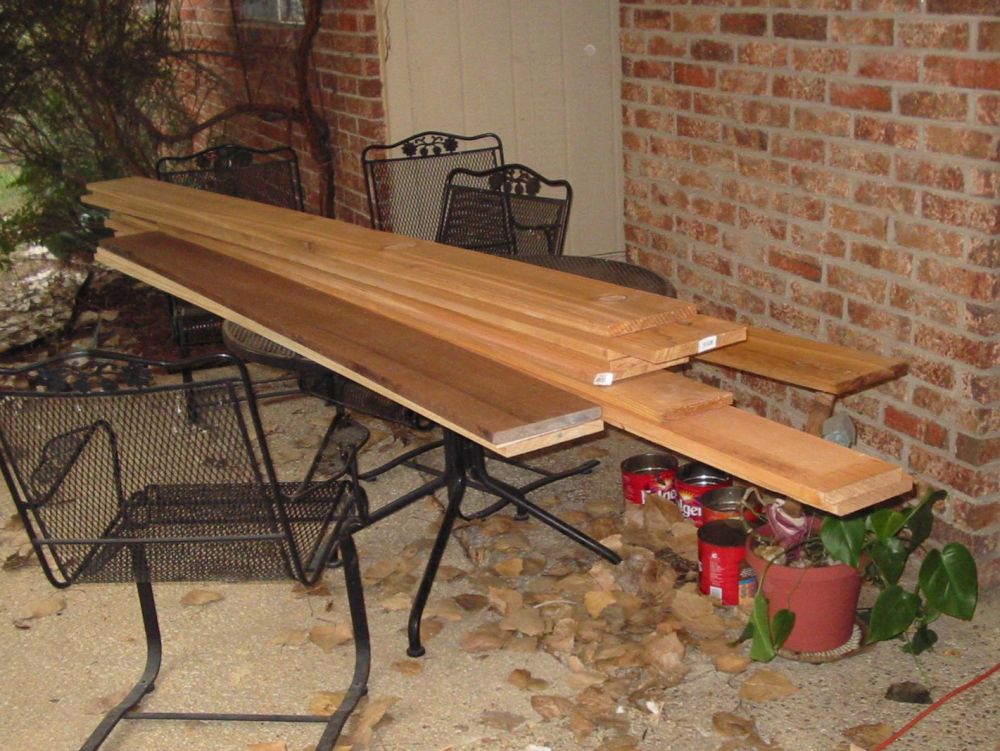 The
wood in this photo will become a kayak. Hard to believe, I
think.
The
wood in this photo will become a kayak. Hard to believe, I
think.
This whole project is too big to have all the details figured out at the beginning. I just have to have faith that it can be done, and that any problems can get worked out as it progresses.
Continued on Page Two . . . .
Created: November 13, 2002