Building a Model Kayak
Building a model kayak is a lot like building a full size kayak. Here's how I do it.
( Click any photo below to see a larger image. )
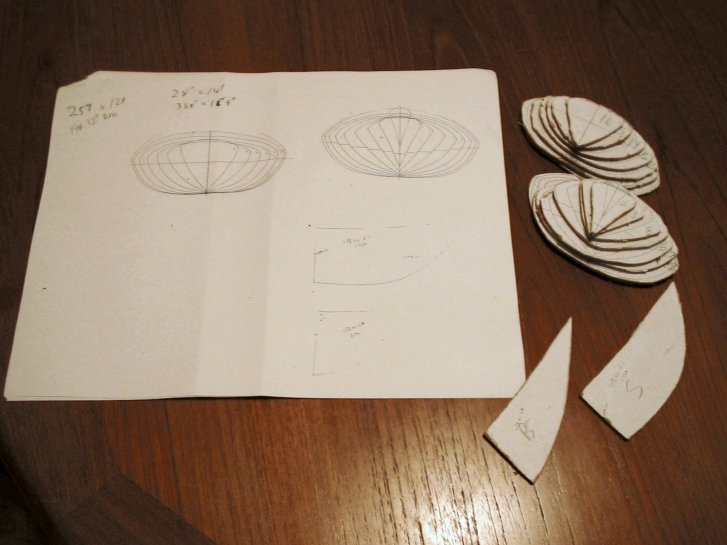 Plans for my kayak models have come from two sources: (1) Reducing full-size drawings, and (2) Copied from outline drawings in kayaking magazines. The station molds plans are glued to masonite with spray contact cement. I cut the stations out roughly with a fine-toothed jig saw and smoothed out with a belt sander (similar to full-size molds!). |
 My preference is to shorten the length of a model kayak more than the width. It's easier to handle, even if it's not an exact replica. For instance, I might reduce the station molds on a 1:7 scale, but the length 1:8. The photo above shows how the station molds are slipped into slots in a board to form the strongback. The stations are held in place with hot melt glue, as they need to separate from the strongback later. |
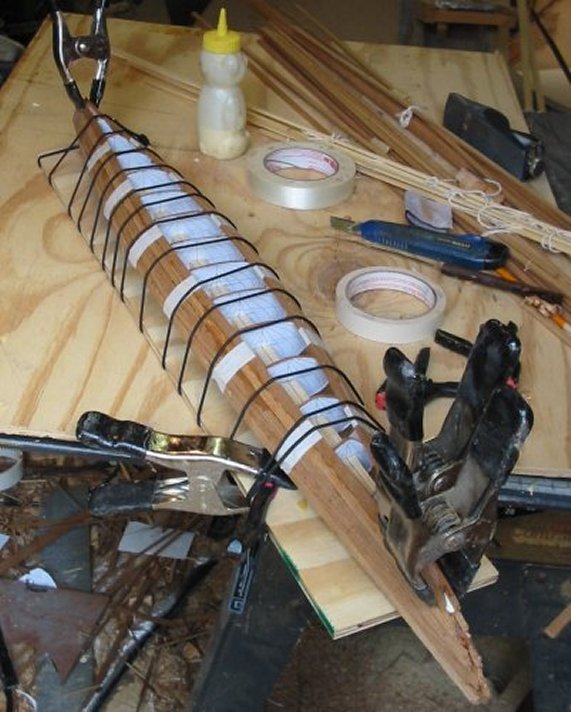 The strips are 1/8" thick. Most strips are cut with a bevel on one side, and some with two, so the there is minimal planing necessary during construction. Thin shock cord, masking tape and clamps all serve to hold the strips until the wood glue dries.
|
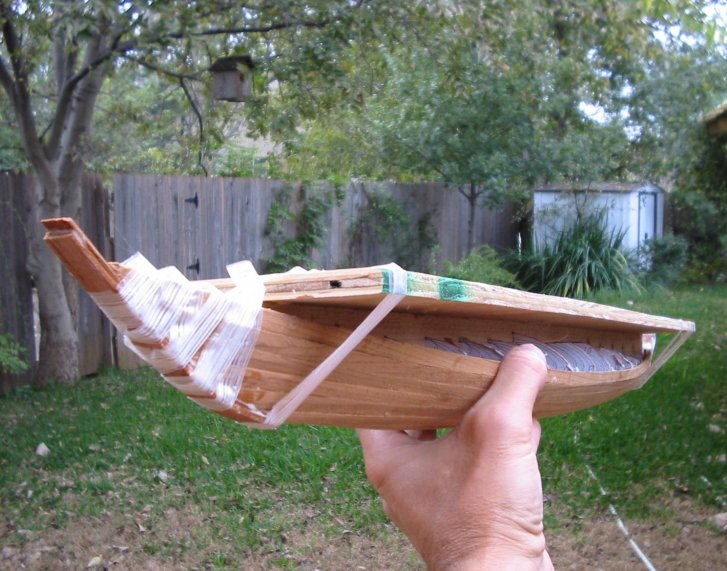
Outer stems help to clean up the look.
|
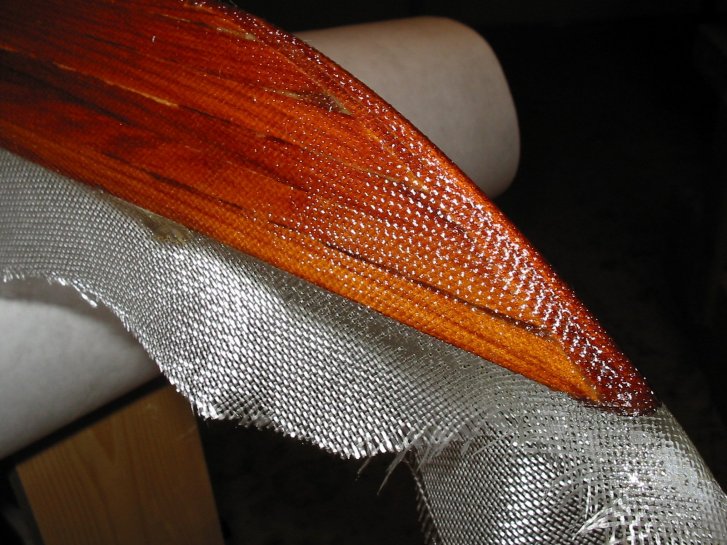
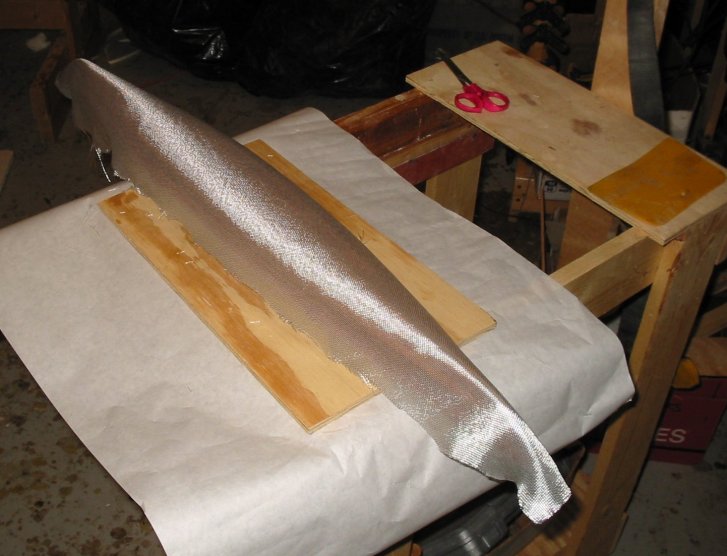
Four ounce fiberglass stiffens and adds strength. Only the outside receives fiberglass. The inside is sealed with two coats of epoxy. |
 After the full fiberglass has cured, the hull and forms are removed from the strongback. The deck is similarly stripped. The fiberglass on the deck is allowed to overlap onto the hull approximately 3/8" to tie it together. No photos of the deck-stripping. Sorry! |
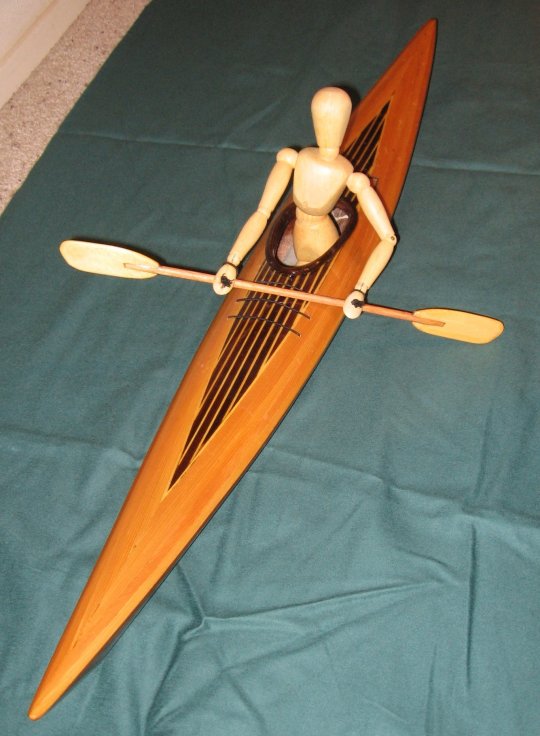 Our course a paddle is needed, and a paddler. |
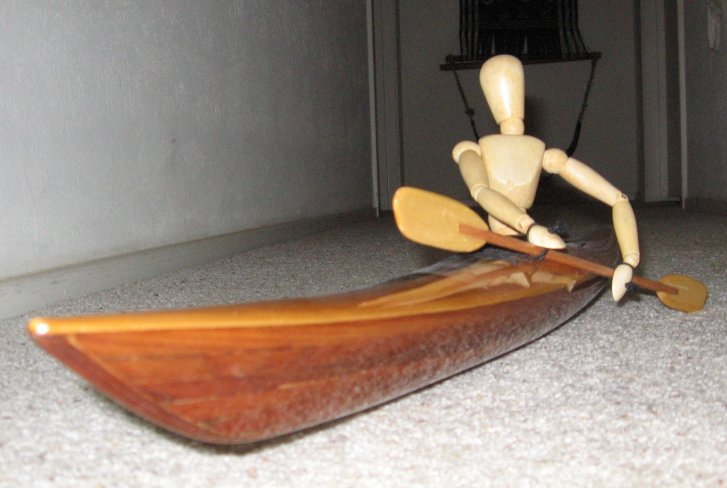 A model can be an effective teaching tool, showing the position of the paddler, boat and blade when teaching rolls, surfing or other skills. |
|
Thank you for allowing me to share these photos.
John Caldeira john@outdoorplace.org
Back to my Paddling Home Page.
To my Home Page.
Created March 2, 2006